I had a little time tonight after work, and got started recovering the fuselage of my old Kadet Senior. It went pretty smoothly, I got the fuse covered, the elevator box cut in, rear of the fuse capped off, some of the trim installed on the sides of the fuse, and the lower portion of the horizontal stab covered on one side. I opted to seal the hinge gaps as opposed to cutting the elevator off to cover, I think it seals out fuel residue and lasts longer. Here's a few pics...
I started by covering the sides in opaque red MonoKote. I cut the first piece for the RH side of the fuse, seal it down around all of the edges, and trim away the excess. I then shrink it with a heat gun, and use the iron to seal it down to all of the stringers and other structure. It's not as pretty as just shrinking with a heat gun, but it's WAY stronger when the covering is attached to all of the structure...the covering becomes a major source of strength in the airframe.
I didn't want to unplug the elevator servo and fish the wire in an out of the fuse, so i just worked around it.
Here, the elevator servo box is all covered around with the edges sealed down into the fuse, and the servo back in the hole. I didn't install the screws yet, I've still got to cover the bottom of the horizontal stab.
Moving forward on the fuse, I covered a few more bays on the LH side. I like to cut the material to size, seal it down all around the edges while gently pulling out mild wrinkles, and trim the excess away before shrinking it.
Here you can see where i applied a little bit of white to clean up the old covering scheme without adding additional white over the full length of the fuse.
Getting ready to cut and install the white on the LH side...
White trim added here to round out the edges of the original white.
The lower portion of the LH horizontal stabilizer is covered. I still have to iron in a 90 degree fillet at the junction of the stab and fuse to help keep fuel and oil out...
Here's a closeup of the hinge line after sealing with covering...
This is moving along pretty nicely, hopefully more tomorrow on this project!
Dave
http://www.RCDave.net
Nothing special, just various bits and pieces from my RC hobby adventures. I enjoy building, flying sport, and tinkering with RC Airplanes. Check out my webpage at www.RCDave.net, email to me at wb4iuy@gmail.com
Thursday, October 6, 2016
Off with the old....
Well, I was initially just going to patch the covering on this old girl, but discovered it to be in much worse shape than I thought. The transparent red covering was extremely brittle, and the adhesive on it was pretty much shot. My good friend, Bryan, suggested that the transparent absorbs more UV and seems to fail much earlier...I think he's right. Thinking back over the last 40+ years, all of the birds I've had with transparent covering seem to fad and become brittle much faster than those with opaque colors.
I repaired several loose joints in the horizontal stab...
The servo box I built several years ago for the elevator had broken joints, where the glue had cracked from vibration.
The tail of the fuselage also had several loose & broken joints, and the covering was coming loose there as well.
The elevator covering was very brittle, I literally poked holes in it by accident with my fingertips.
The covering on the bottom of the stab didn't look too bad, but I decided to not patch it, but rather just pull it all off and recover...
The tail in bare bones, waiting for sanding and new covering.
I trimmed away all of the transparent covering from the sides of the fuse to make repairs to the structure.
The opposite side of the fuse uncovered, repaired, and ready for covering.
...and the covering begins.
Dave
http://www.rcdave.net
I repaired several loose joints in the horizontal stab...
The servo box I built several years ago for the elevator had broken joints, where the glue had cracked from vibration.
The tail of the fuselage also had several loose & broken joints, and the covering was coming loose there as well.
The elevator covering was very brittle, I literally poked holes in it by accident with my fingertips.
The covering on the bottom of the stab didn't look too bad, but I decided to not patch it, but rather just pull it all off and recover...
The tail in bare bones, waiting for sanding and new covering.
I trimmed away all of the transparent covering from the sides of the fuse to make repairs to the structure.
The opposite side of the fuse uncovered, repaired, and ready for covering.
...and the covering begins.
Dave
http://www.rcdave.net
Wednesday, October 5, 2016
Refreshing my old Kadet Senior...
At first glance, this old bird didn't look to need much attention to get her back in the air....until I looked a little closer. Chipped prop, covering shot on the tail feathers, fuel lines, and several pieces of the air frame that had become unglued from years of thrashing with a Saito 100 4-stroke. This is a lot of fun...it'll fly backwards, hover, knife edge on takeoff, etc. I originally built this from 3 other airplanes that folks had discarded... I installed a pair of solid hardwood spars in the wing, assembled it as a one-piece wing with no dihedral, and recovered it. I set the radio system up to include flapperons, programmed aileron / flap / elevator mixing, installed a large fuel tank and 100 Saito 4-stroke, and converted it to a taildragger. the elevator and rudder servos are in the tail, and the rudder uses pull-pull cables. I've been slamming and banging this thing around since about 2009. It was time for some attention... I started by checking for loose stuff, replacing the fuel lines, testing the batteries, an d looking the airframe over closely.
I run a 14 x 8 Vess Sport prop on this engine. I like the performance with it, and have plenty of ground clearance...
There was a chunk knocked out of the tip of the prop. I've repaired prop tips many times over the last 40+ years in the hobby...I really like the Vess props, and decided to salvage this one, since it's been on the airplane for abt 7 years :-) I made a nice square cut, stacked up some 1/32" micro-lam plywood, and bonded a chunk into the prop tip.
I then shape, sand, and finally balance the prop. I've never had a repaired prop to fail.
Dave
http://www.rcdave.net
I run a 14 x 8 Vess Sport prop on this engine. I like the performance with it, and have plenty of ground clearance...
There was a chunk knocked out of the tip of the prop. I've repaired prop tips many times over the last 40+ years in the hobby...I really like the Vess props, and decided to salvage this one, since it's been on the airplane for abt 7 years :-) I made a nice square cut, stacked up some 1/32" micro-lam plywood, and bonded a chunk into the prop tip.
I then shape, sand, and finally balance the prop. I've never had a repaired prop to fail.
Dave
http://www.rcdave.net
Bringing My RC Stuff out of the Mothballs...
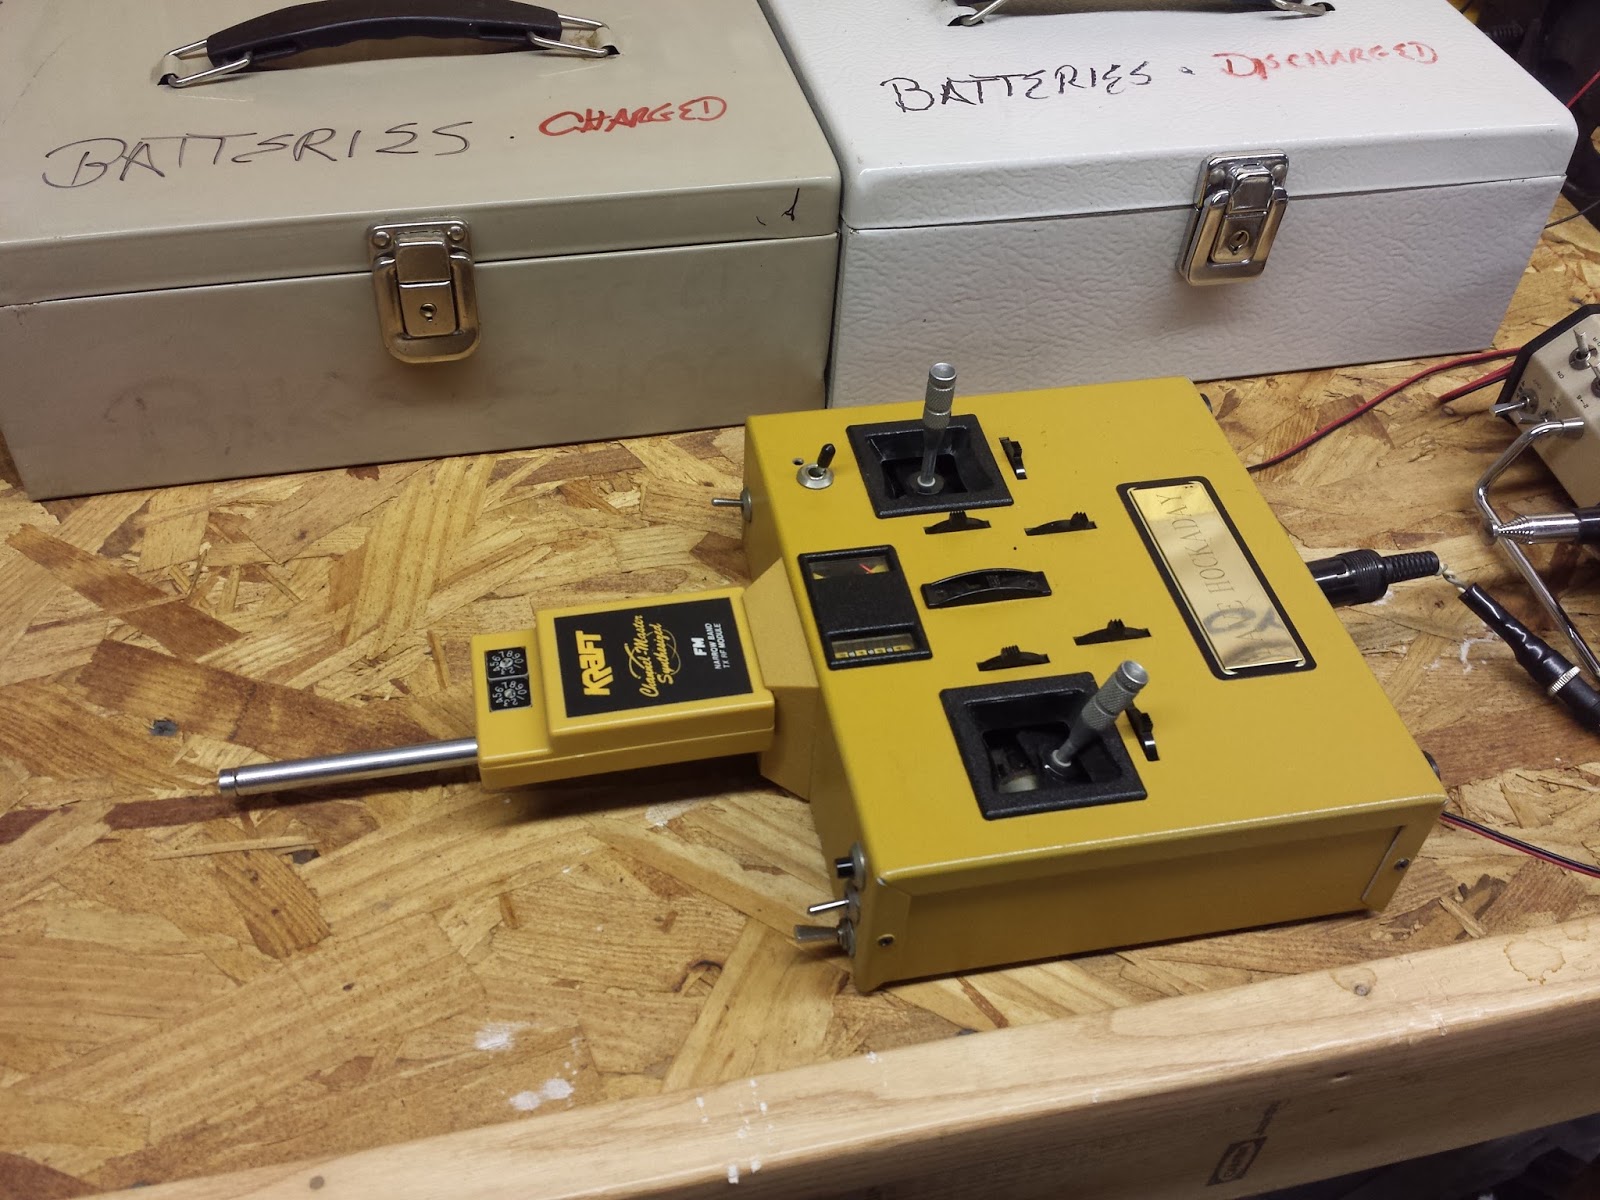
Wow, it's been a while. I've been so darned busy with work, family, and tons of house repairs / remodelling...there's been no time for much hobby stuff. I'll get the motorcycle out once in a while, and spend some time on ham radio in the middle of the night. When I parked my RC gear in 2014, most everything was working pretty good, but time has a way of ruining batteries and such. So, I've pulled all of my radios and batteries out, and have been running them on chargers, cyclers, and load simulators for the last couple of weeks. Some batteries were bad, but most were OK...much to my surprise!
OK...so far so good, time to start dragging out the airplanes and get those repairs underway!
Dave
http://www.rcdave.net
OK...so far so good, time to start dragging out the airplanes and get those repairs underway!
Dave
http://www.rcdave.net
Sunday, September 25, 2016
2016 Fly For Tots in the books...
The 2016 Fly For Tots event was another great one, and we're already looking forward to the 2017 FFT. Dane Edwards put together this nice video in his 'Redneck Planes' series to help us all remember the fun! If you're on Facebook, be sure to check out all of the 2016 Fly For Tots photos and videos at http://www.facebook.com/flyfortots .
Dave
http://www.RCDave.net
Dave
http://www.RCDave.net
Friday, February 6, 2015
Cheap high current 12vdc supplies!
I've been having fun converting old power supplies from junk computers to high current 12 vdc supplies to run chargers and such on. Read more about it on my ham radio blog at: http://wb4iuy.blogspot.com/2015/02/converting-computer-supplies-for-ham.html .
Wednesday, February 4, 2015
Stick upgrades to my old DX7 Transmitter
I finally got around to replacing the old skinny, sharp-tipped gimbal stick ends on my trusty Spektrum DX7 tranmitter. I installed the new East RC FattyStix ergonomic stick ends...and easy mod. Man, do they feel great!
On the DX7, you simply loosen the setscrew in the center of the factory stick tips, and screw the old tips off of the sticks. The new EastRC FattyStix spin right back on in their place. Screw them all the way to the bottom (don't force them) until they 'snug up', and you're done.
This new accessory improves the ergonomics of your transmitter sticks for "pinch flyers" and "thumb flyers" alike. "Pinch Flyers" are pilots that grasp the sticks between the thumb and forefinger, while "Thumb Flyers" are pilots who use their thumbs on the ends of the sticks.
The East RC FattyStix are CNC machined from 6061-T6 aluminum and are available for most modern RC transmitters. These are designed with friction zones in the most important areas for both types of pilots. FattyStix improve comfort by providing a much larger non-slip contact surface for your thumbs, and a larger body for easy grasp.
East RC already has these for many transmitters commonly found at the local flying field. The dimensions of the 'FattyStix' are about 1-1/4" tall, and 5/8" in diameter at the widest point. You can find these on the East RC website at http://www.EastRC.org. Here's a few more pics of these...
Monday, August 18, 2014
Recovering History, before it's gone forever...
As I've gotten older, I've found that I am somewhat more interested in history. Family history, history of our country, history of radios, ... anything historical. A few years ago, I started collecting info about the RDRC club. There was a lot of supposition about the origins of the club, the year is was started, etc.
As time moved along, several of the guys in the club located info, talked to older members who are no longer active, dug up old photos, found newspaper clippings, etc. As an example, is was common "knowledge" that the club started in 1962 and had use 3 different flying sites over the years. After this work started coming together, it was discovered that the club was actually founded in 1958, and had had at least 8 different flying sites over the years. The more we uncovered, the more we realized the importance of documenting everything as best we could, before this historical data was forever lost.
So, enter my poor attempt at a website. It's not some new whiz-bang technology, but it does begin to document and archive some of this info. Please visit the archive site and click the RDRC HISTORY link in the LH menu. This is a work in progress, but there's lots of great info buried in there! Here's the link:
http://www.scootworks.com/rdrc/history.html
Dave AMA119484
As time moved along, several of the guys in the club located info, talked to older members who are no longer active, dug up old photos, found newspaper clippings, etc. As an example, is was common "knowledge" that the club started in 1962 and had use 3 different flying sites over the years. After this work started coming together, it was discovered that the club was actually founded in 1958, and had had at least 8 different flying sites over the years. The more we uncovered, the more we realized the importance of documenting everything as best we could, before this historical data was forever lost.
So, enter my poor attempt at a website. It's not some new whiz-bang technology, but it does begin to document and archive some of this info. Please visit the archive site and click the RDRC HISTORY link in the LH menu. This is a work in progress, but there's lots of great info buried in there! Here's the link:
http://www.scootworks.com/rdrc/history.html
Dave AMA119484
Subscribe to:
Posts (Atom)