Nothing special, just various bits and pieces from my RC hobby adventures. I enjoy building, flying sport, and tinkering with RC Airplanes. Check out my webpage at www.RCDave.net, email to me at wb4iuy@gmail.com
Saturday, February 2, 2019
Building new NiMH Packs...
Monday, January 28, 2019
More battery problems, Kadet Senior...
Monday, October 10, 2016
The Kadet is all finished!
Dave
http://www.RCDave.net
Setting up mixing on the Kadet...
This thing will hover with the 100 Saito, will roll into a knife-edge on takeoff and climb out in that attitude, will fly backwards with piles of flap action and low throttle. etc. Over the years of flying this airplane, it has become my favorite airplane to fly.
Here's a short video of the flaperon mixing in action, as well a conventional flap setup I have mixed in...
Sunday, October 9, 2016
Finishing the repairs to the Kadet fuselage...
So, I set about to cover the top of the stab and elevator, and fix a few other items... I trimmed the Monokote a little larger than needed, tacked it in place at 300 degrees F around the root of the stab, pull it out to the edge of the stab and tacked it down there, pulled it around the leading edge and tacked it, then folded the elevator all the way down and tacked it into the hinge line. Once tacked in place, I sealed it all the way around the perimeter, and trimmed the excess away. Using a small T-Pin, I punched a tiny hole in the bottom side of each bay of the stab structure to allow air out... I then set the sealing iron to 350 degress F, and shrank the covering across the entire structure on the top side. I use the heat gun in a circular pattern to get any wrinkles out of the corners, and the iron again to seal the covering to all parts of the structure for strength. You can find the temp chart I put together on my website at http://www.RCDave.net for various covering brands.
Once the LH side was done, I moved over and covered the RH side of the stab in the same way.
I cut more material and covered the elevator structure new, using the same methods used for the stab. Once completed, I use the sealing iron and touch the pin holes in the bottom to close those back up.
All finished with the elevator and stab, here's a look from the bottom...
I retained the factory covering on the vertical stab and rudder, but it needed a bit of attention. Sig uses a low temp "china film" of some sort, and it had come loose where the white wraps around the leading edge. I had a bunch of scrap white on the table, so I used little pieces of that to tack to the OEM covering, pull it around the leading edge, and seal it back down.
The transparent film had come loose where it wrapped around the trailing edge of the rudder. I have clear monokote for this sort of application... I cut a strip, tacked it to the OEM covering, wrapped it around the rear of the rudder, and sealed it down. Good as new! (probably better, hahahaha)
OK, the covering on the fuselage is all repaired, problems in the structure are fixed and reinforced, batteries cycled, fuel lines replaced, prop repaired, and other misc stuff finished. Time to get the wing down and check it over for any needed repairs...
Dave
http://www.RCDave.net
Saturday, October 8, 2016
Bottom Of The Stab...
I cut a piece a bit bigger than the surface I plan to cover, and allow it to overlap the hinge line a little.
I seal it down along the edge of the fuse first, then pull lightly towards the tip, and seal along that area. I then pulled lightly along the leading edge and tacked that down, then pulled towards the hinge line and tacked down into the hinge line with the elevator deflected fully away from area I was covering. I work my way along the hinge line, forcing the covering down into the hinge line and back up onto the elevator's leading edge. I trim the rear edge of the covering to allow about 1/4" overlap up and onto the elevator, trim the remainder of the edges, and seal all edges down. I use the heat gun very close (about 1" from the surface) in a circular motion to shring the covering, then use the iron to seal it to the interior structure for additional strength.
I covered and shrunk the elevator bottom, and it turned out pretty good.
I re-installed the servo into the fuse side, and secured it with screws. I can't re-attach the linkage to the elevator just yet, the top of the elevator needs to be covered first.
OK, time for bed. I flipped the airplane over and up onto it's landing gear, getting it ready to cover the top of the stab.
We're under some hurricane conditions here from Hurricane Matthew, so I'll probably work on this more if I keep power on at my home. This baby will be ready to fly soon!
Dave
http://www.RCDave.net
Thursday, October 6, 2016
On with the new...
I started by covering the sides in opaque red MonoKote. I cut the first piece for the RH side of the fuse, seal it down around all of the edges, and trim away the excess. I then shrink it with a heat gun, and use the iron to seal it down to all of the stringers and other structure. It's not as pretty as just shrinking with a heat gun, but it's WAY stronger when the covering is attached to all of the structure...the covering becomes a major source of strength in the airframe.
I didn't want to unplug the elevator servo and fish the wire in an out of the fuse, so i just worked around it.
Here, the elevator servo box is all covered around with the edges sealed down into the fuse, and the servo back in the hole. I didn't install the screws yet, I've still got to cover the bottom of the horizontal stab.
Moving forward on the fuse, I covered a few more bays on the LH side. I like to cut the material to size, seal it down all around the edges while gently pulling out mild wrinkles, and trim the excess away before shrinking it.
Here you can see where i applied a little bit of white to clean up the old covering scheme without adding additional white over the full length of the fuse.
Getting ready to cut and install the white on the LH side...
White trim added here to round out the edges of the original white.
The lower portion of the LH horizontal stabilizer is covered. I still have to iron in a 90 degree fillet at the junction of the stab and fuse to help keep fuel and oil out...
Here's a closeup of the hinge line after sealing with covering...
This is moving along pretty nicely, hopefully more tomorrow on this project!
Dave
http://www.RCDave.net
Off with the old....
I repaired several loose joints in the horizontal stab...
The servo box I built several years ago for the elevator had broken joints, where the glue had cracked from vibration.
The tail of the fuselage also had several loose & broken joints, and the covering was coming loose there as well.
The elevator covering was very brittle, I literally poked holes in it by accident with my fingertips.
The covering on the bottom of the stab didn't look too bad, but I decided to not patch it, but rather just pull it all off and recover...
The tail in bare bones, waiting for sanding and new covering.
I trimmed away all of the transparent covering from the sides of the fuse to make repairs to the structure.
The opposite side of the fuse uncovered, repaired, and ready for covering.
...and the covering begins.
Dave
http://www.rcdave.net
Wednesday, October 5, 2016
Refreshing my old Kadet Senior...
I run a 14 x 8 Vess Sport prop on this engine. I like the performance with it, and have plenty of ground clearance...
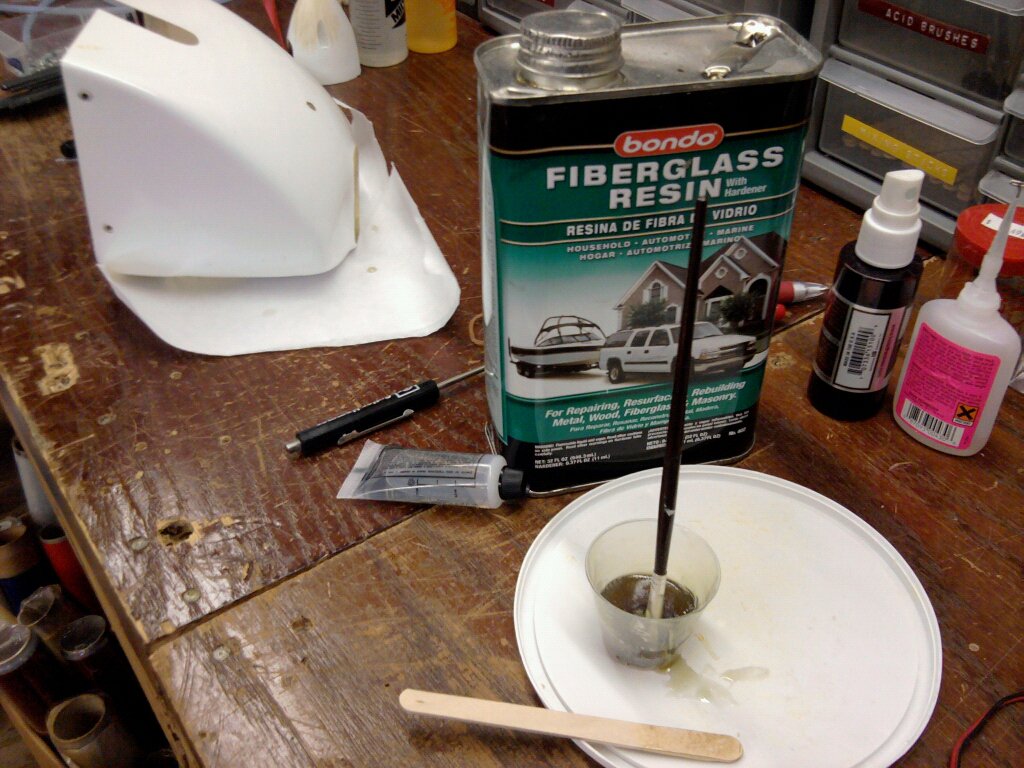
There was a chunk knocked out of the tip of the prop. I've repaired prop tips many times over the last 40+ years in the hobby...I really like the Vess props, and decided to salvage this one, since it's been on the airplane for abt 7 years :-) I made a nice square cut, stacked up some 1/32" micro-lam plywood, and bonded a chunk into the prop tip.
I then shape, sand, and finally balance the prop. I've never had a repaired prop to fail.
Dave
http://www.rcdave.net
Wednesday, August 3, 2011
Kadet Senior, 2nd Re-Re-Build...
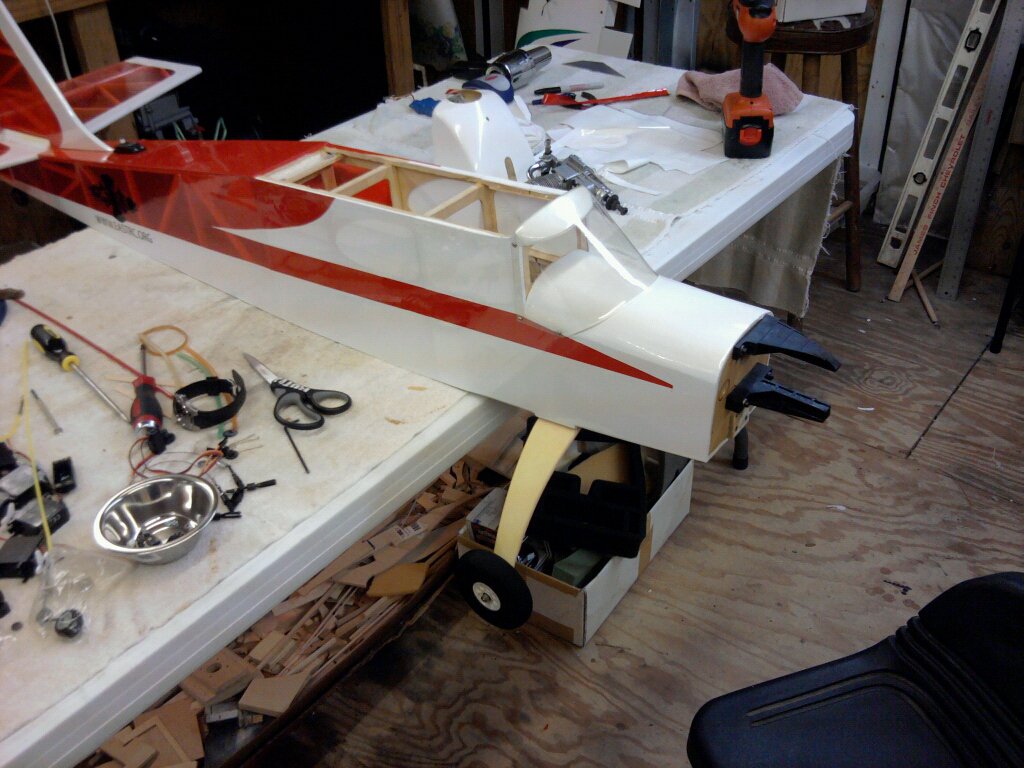
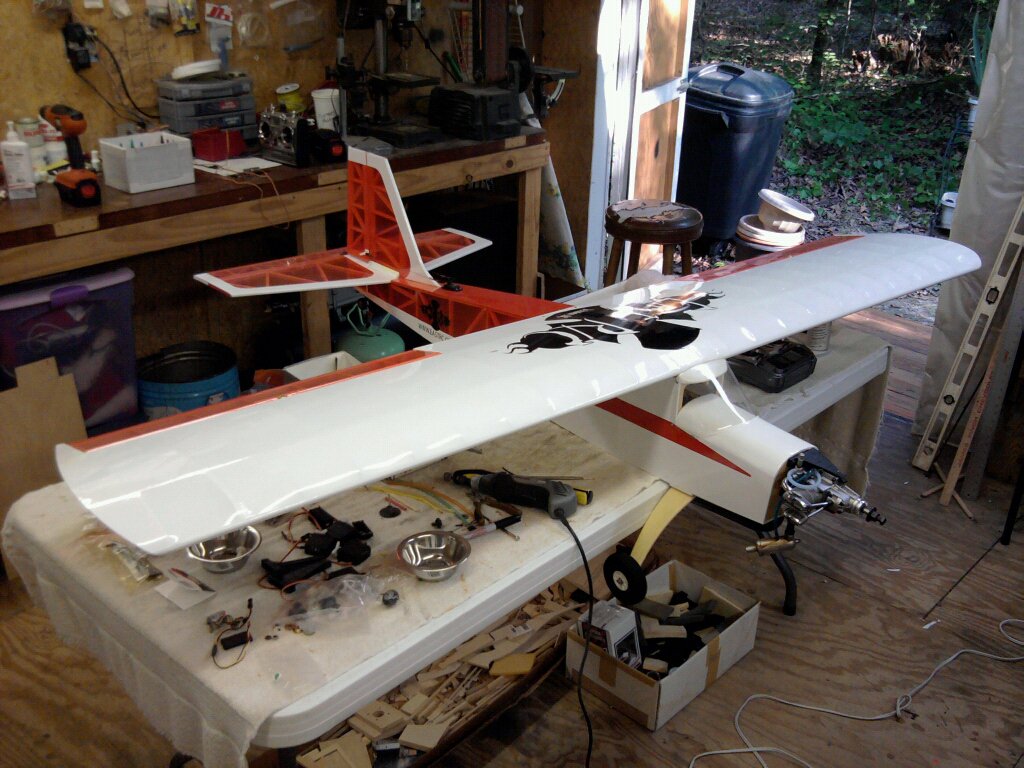
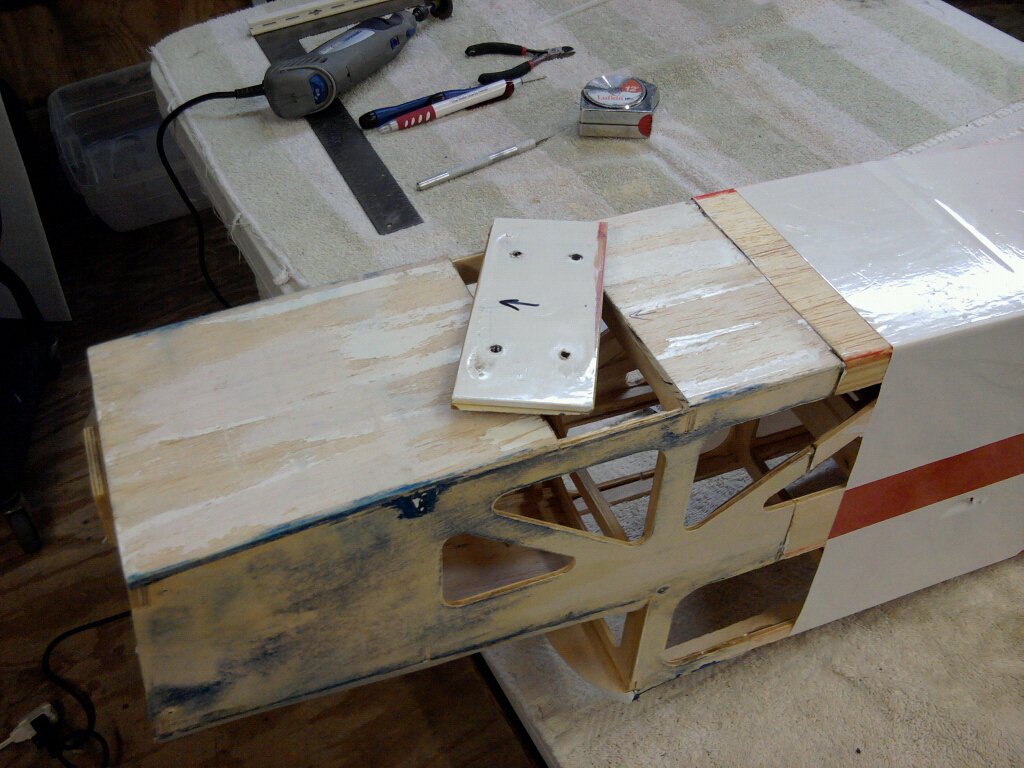
The Kadet Senior flew strong for a couple of years, until a failed receiver battery dumped it pretty hard. It happened while Brandon (my youngest son) and I were at a fly-in in Roanoke Rapids NC. The fuel tank decided to give the battery a bath, and it didn't like it so much :-) . Considering it was assembled from scraps and was so much fun as a converted, overpowered tail dragger, I decided to re-rebuild it... again. A friend in Nashville NC (Bryan Long) had a old Kadet Senior fuselage where the front part was in good shape, and that was all I needed to get started. The photos below may not be in order, but you'll get the idea. She's back up and flying the skys again!
http://www.RCDAVE.net