I got back on this project, today. I'm trying to get it finished up and in use, so I can haul the left overs out to the land fill :-) . The first task I jumped on today, was to get rid of that old AC unit in the front of the trailer. It was cut in and through the front covering, but nothing structural. I cut away the old caulk, and after a bit of wrestling with the AC unit, it came out through the front. The original full size door for the pop-up was stored in the lid when I got the camper, and I saved it as a possible material donor. The lower blank panel in the door was the same exact material used in the body of the camper, so I used the carbide saw and removed it. I was able to easily bend it to fit the front contour, and install it to fill the hole where the AC was previously located. It's now ready for caulk. The old AC support bracket was also removed. This lightened up the nose of the trailer and cleaned things up a bit.

This nasty looking thing has to go! I was afraid of bending the camper body while fighting with piles of old caulk someone had applied, but patience and a sharp knife won out :-)


The patch panel I salvaged from the front door was a perfect match for the material. Boy, was I glad it had the old door for donor material use!
You can see the old AC unit protruding into the inside of the camper. It didn't waste a lot of space, but it did add a bunch of weight to the front of the trailer.

Here's a photo of my redneck sheet metal brake :-) . I was able to duplicate the angle of the front of the camper like this, then simply install the patch panel with sheet metal screws.

Patch panel in place and ready for caulk to keep the H2O out. I'll be able to add one of those aluminum trailer tongue boxes to the frame, just ahead of the body. I had one of those on my last trailer and it's was very handy... a great place to store the generator, fuel, etc.

A photo from inside, with some of the old caulk on the floor that was removed. I need to caulk the area around the new panel, now. Maybe I'll just caulk inside, so as to not have those messy caulk lines on the outside.

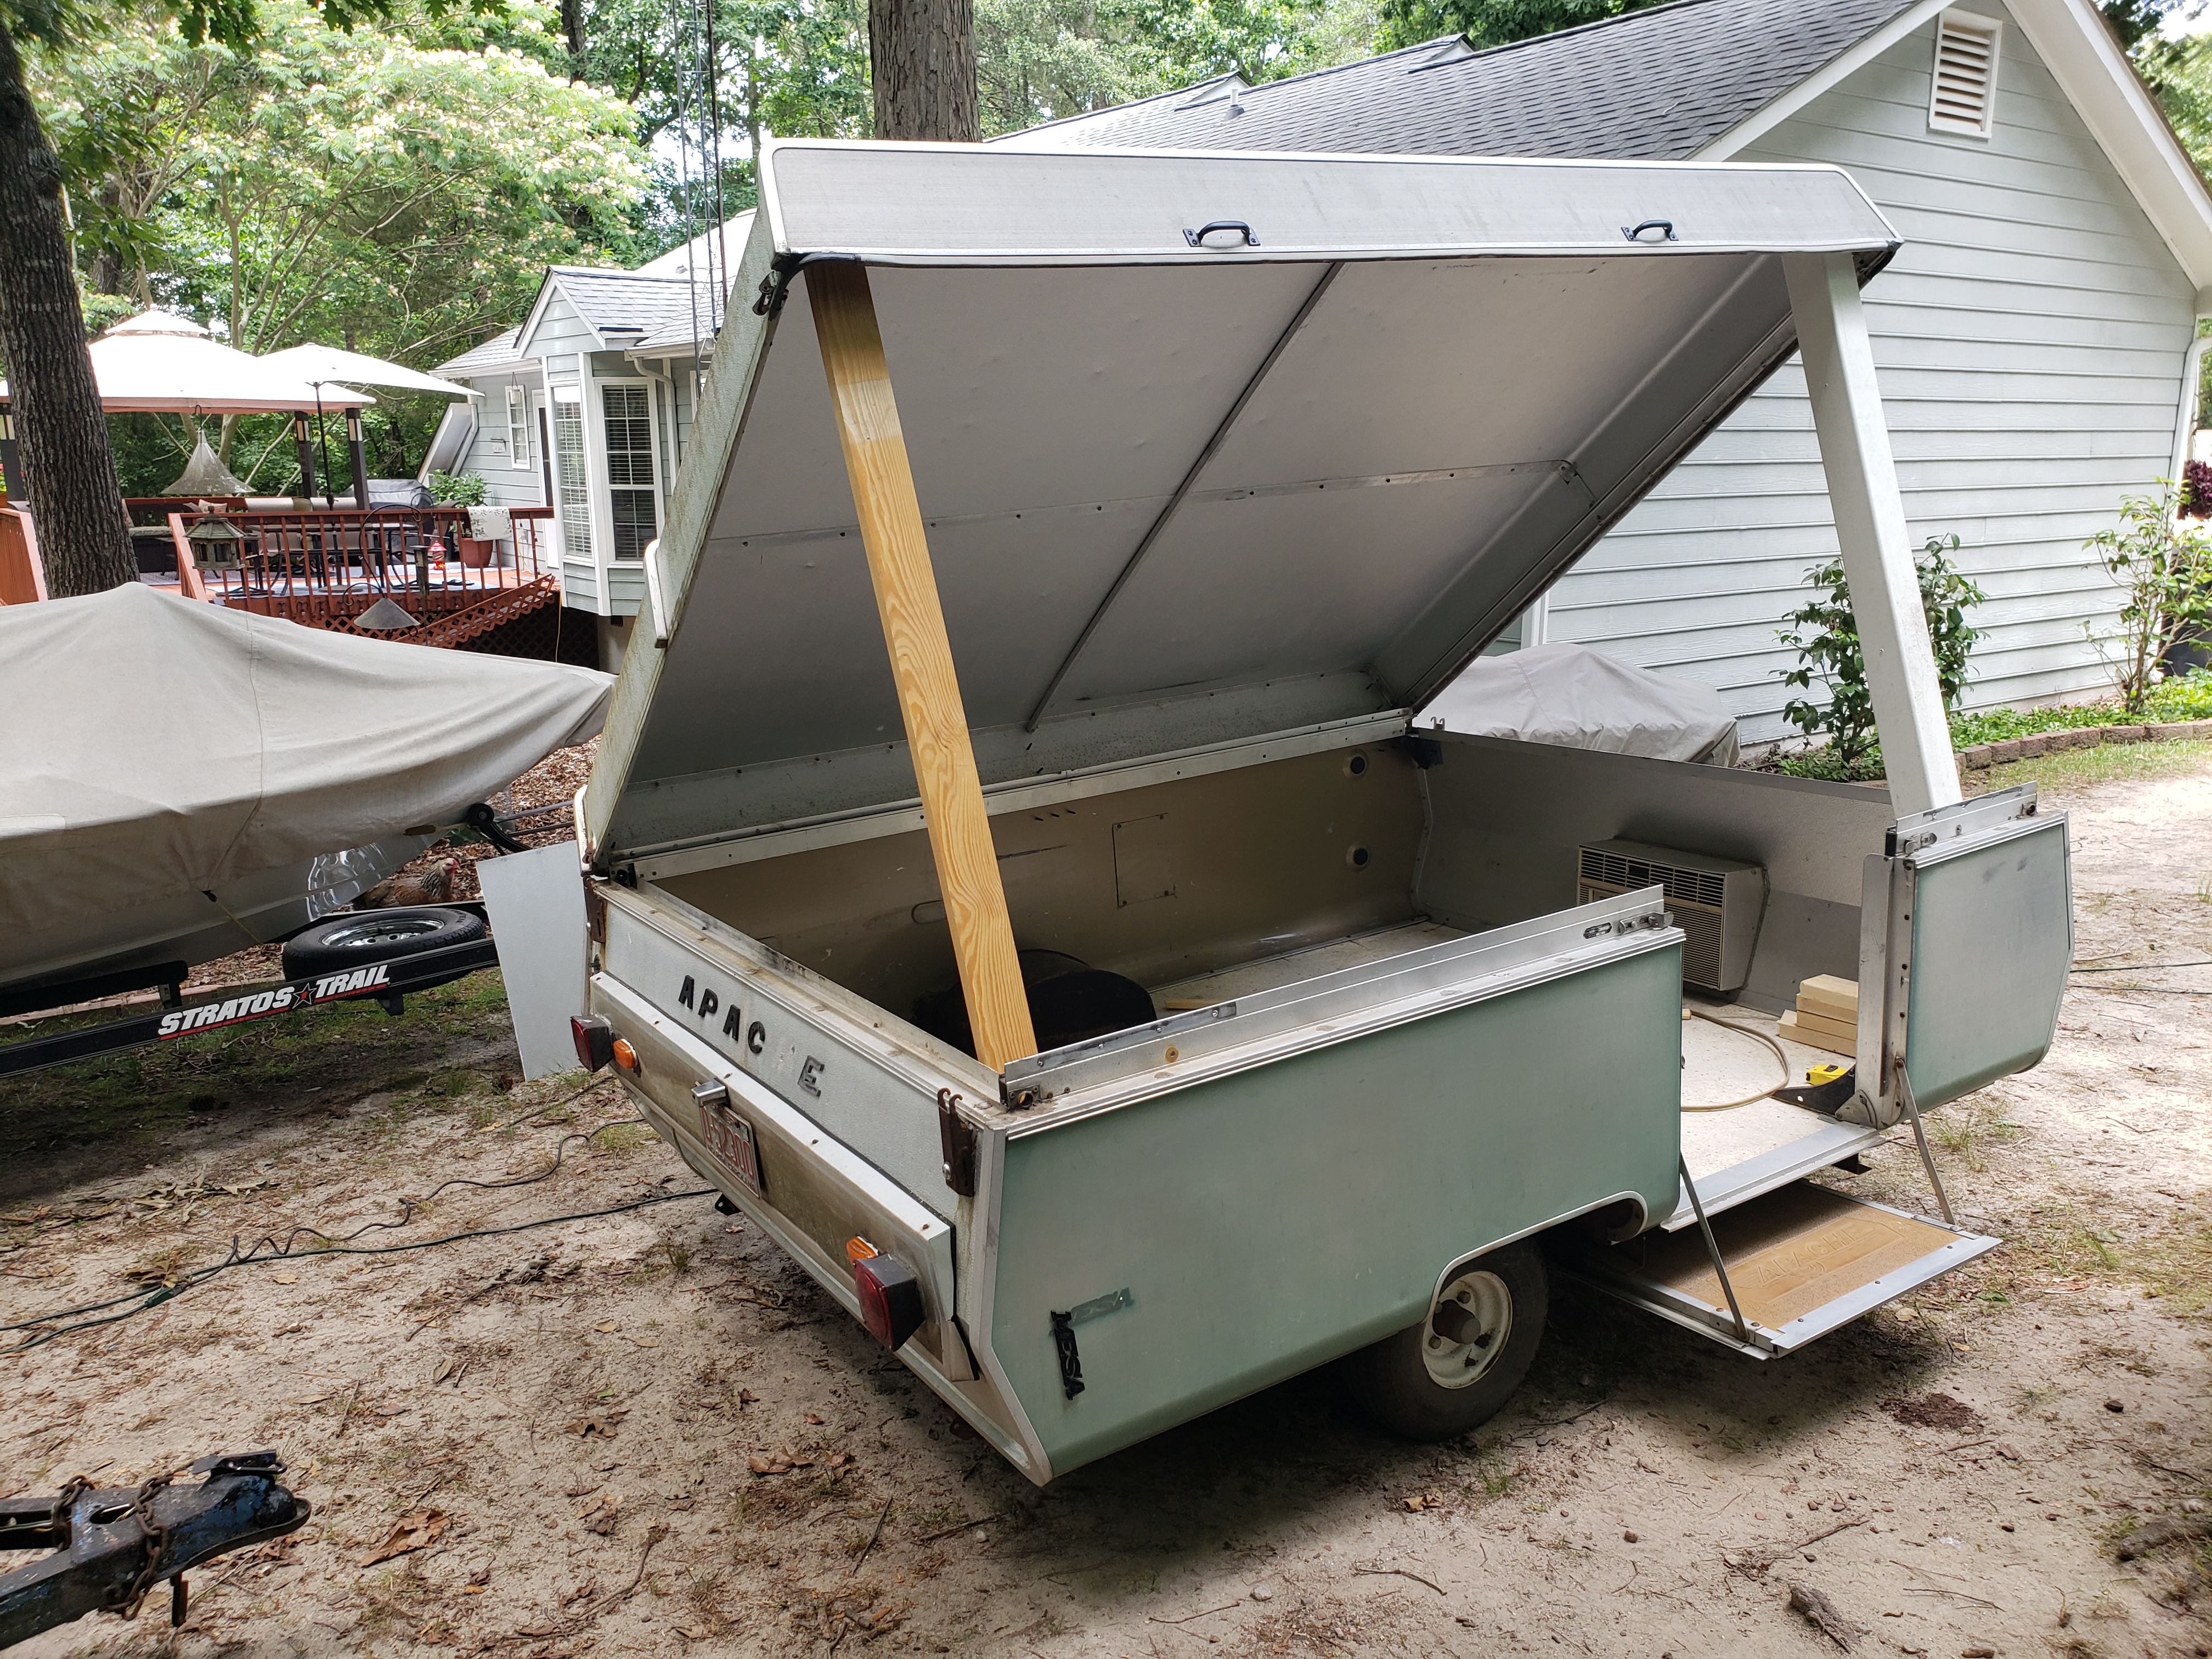
A pair of black lift handles were installed on the lid. I've ordered nitrogen charge lift cylinders to install on either side of the lid, they'll be here in a couple of days. Hopefully, the handles will make it easy to start the lid opening process, and the cylinders will handle the rest of the chore so props or restraints won't be needed...

I removed the old latches from the perimeter of the camper's top section. They need cleaning and paint. While off, I'm hoping to find replacement locks to install in them...headed to Lowe's in the morning to have a look.

A look inside...time to get some scrubbing done to the interior and see if I can reuse the old vinyl floor covering, or if I have to replace it with some checkerboard floor tiles. Since I'm trying to keep this on the cheap, I vote for the first idea :-)

This is about the height I hope to open the lid with the lift cylinders... I ordered 23" units and have marked up the trailer frame with the approximate location for the cylinder mounts...


Using one of my spare trolling motor batteries and an ohmmeter, the wiring was sorted and the tail lights are now all operational. A flat 4 pin connector was fitted up.


A new folding nose jack was installed on the frame, and the old broken plunger-style jack was removed. This will make it much easier to move around, as well as easier to get hitched to the truck! I'll be applying a nice coat of black chassis paint to the exposed part of the frame, once the aluminum etchant is completed.


To wrap up the day's work, I replaced all of the self taping hardware I used for the initial hinge setup, with 1/4-20 stainless steel hardware. The holes were drilled a bit larger, and bolts replaced the screws. The installation is much more solid and won't rust / stain the outside of the body.