Wow, another long day on the Airplane Hauler project. I worked on this from 6am until after 9pm tonight. The temps were HOT!! I'm finished and didn't want to stop :-)
First, I started moving things around and was not happy with the layout from yesterday. I decided to frame the area up front and move the flight box, radios, etc to the front of the trailer to add some tongue weight and make better use of the space.


I need some bungee nets to attach to the ceiling and make better use of that space. I think there's good space there to hang park flyers and such...

Rearranging the flight gear made a lot of difference in available space! I had to frame up a wall in the front for the flight box and radio gear to reside, while leaving room for the lid support pole to move.


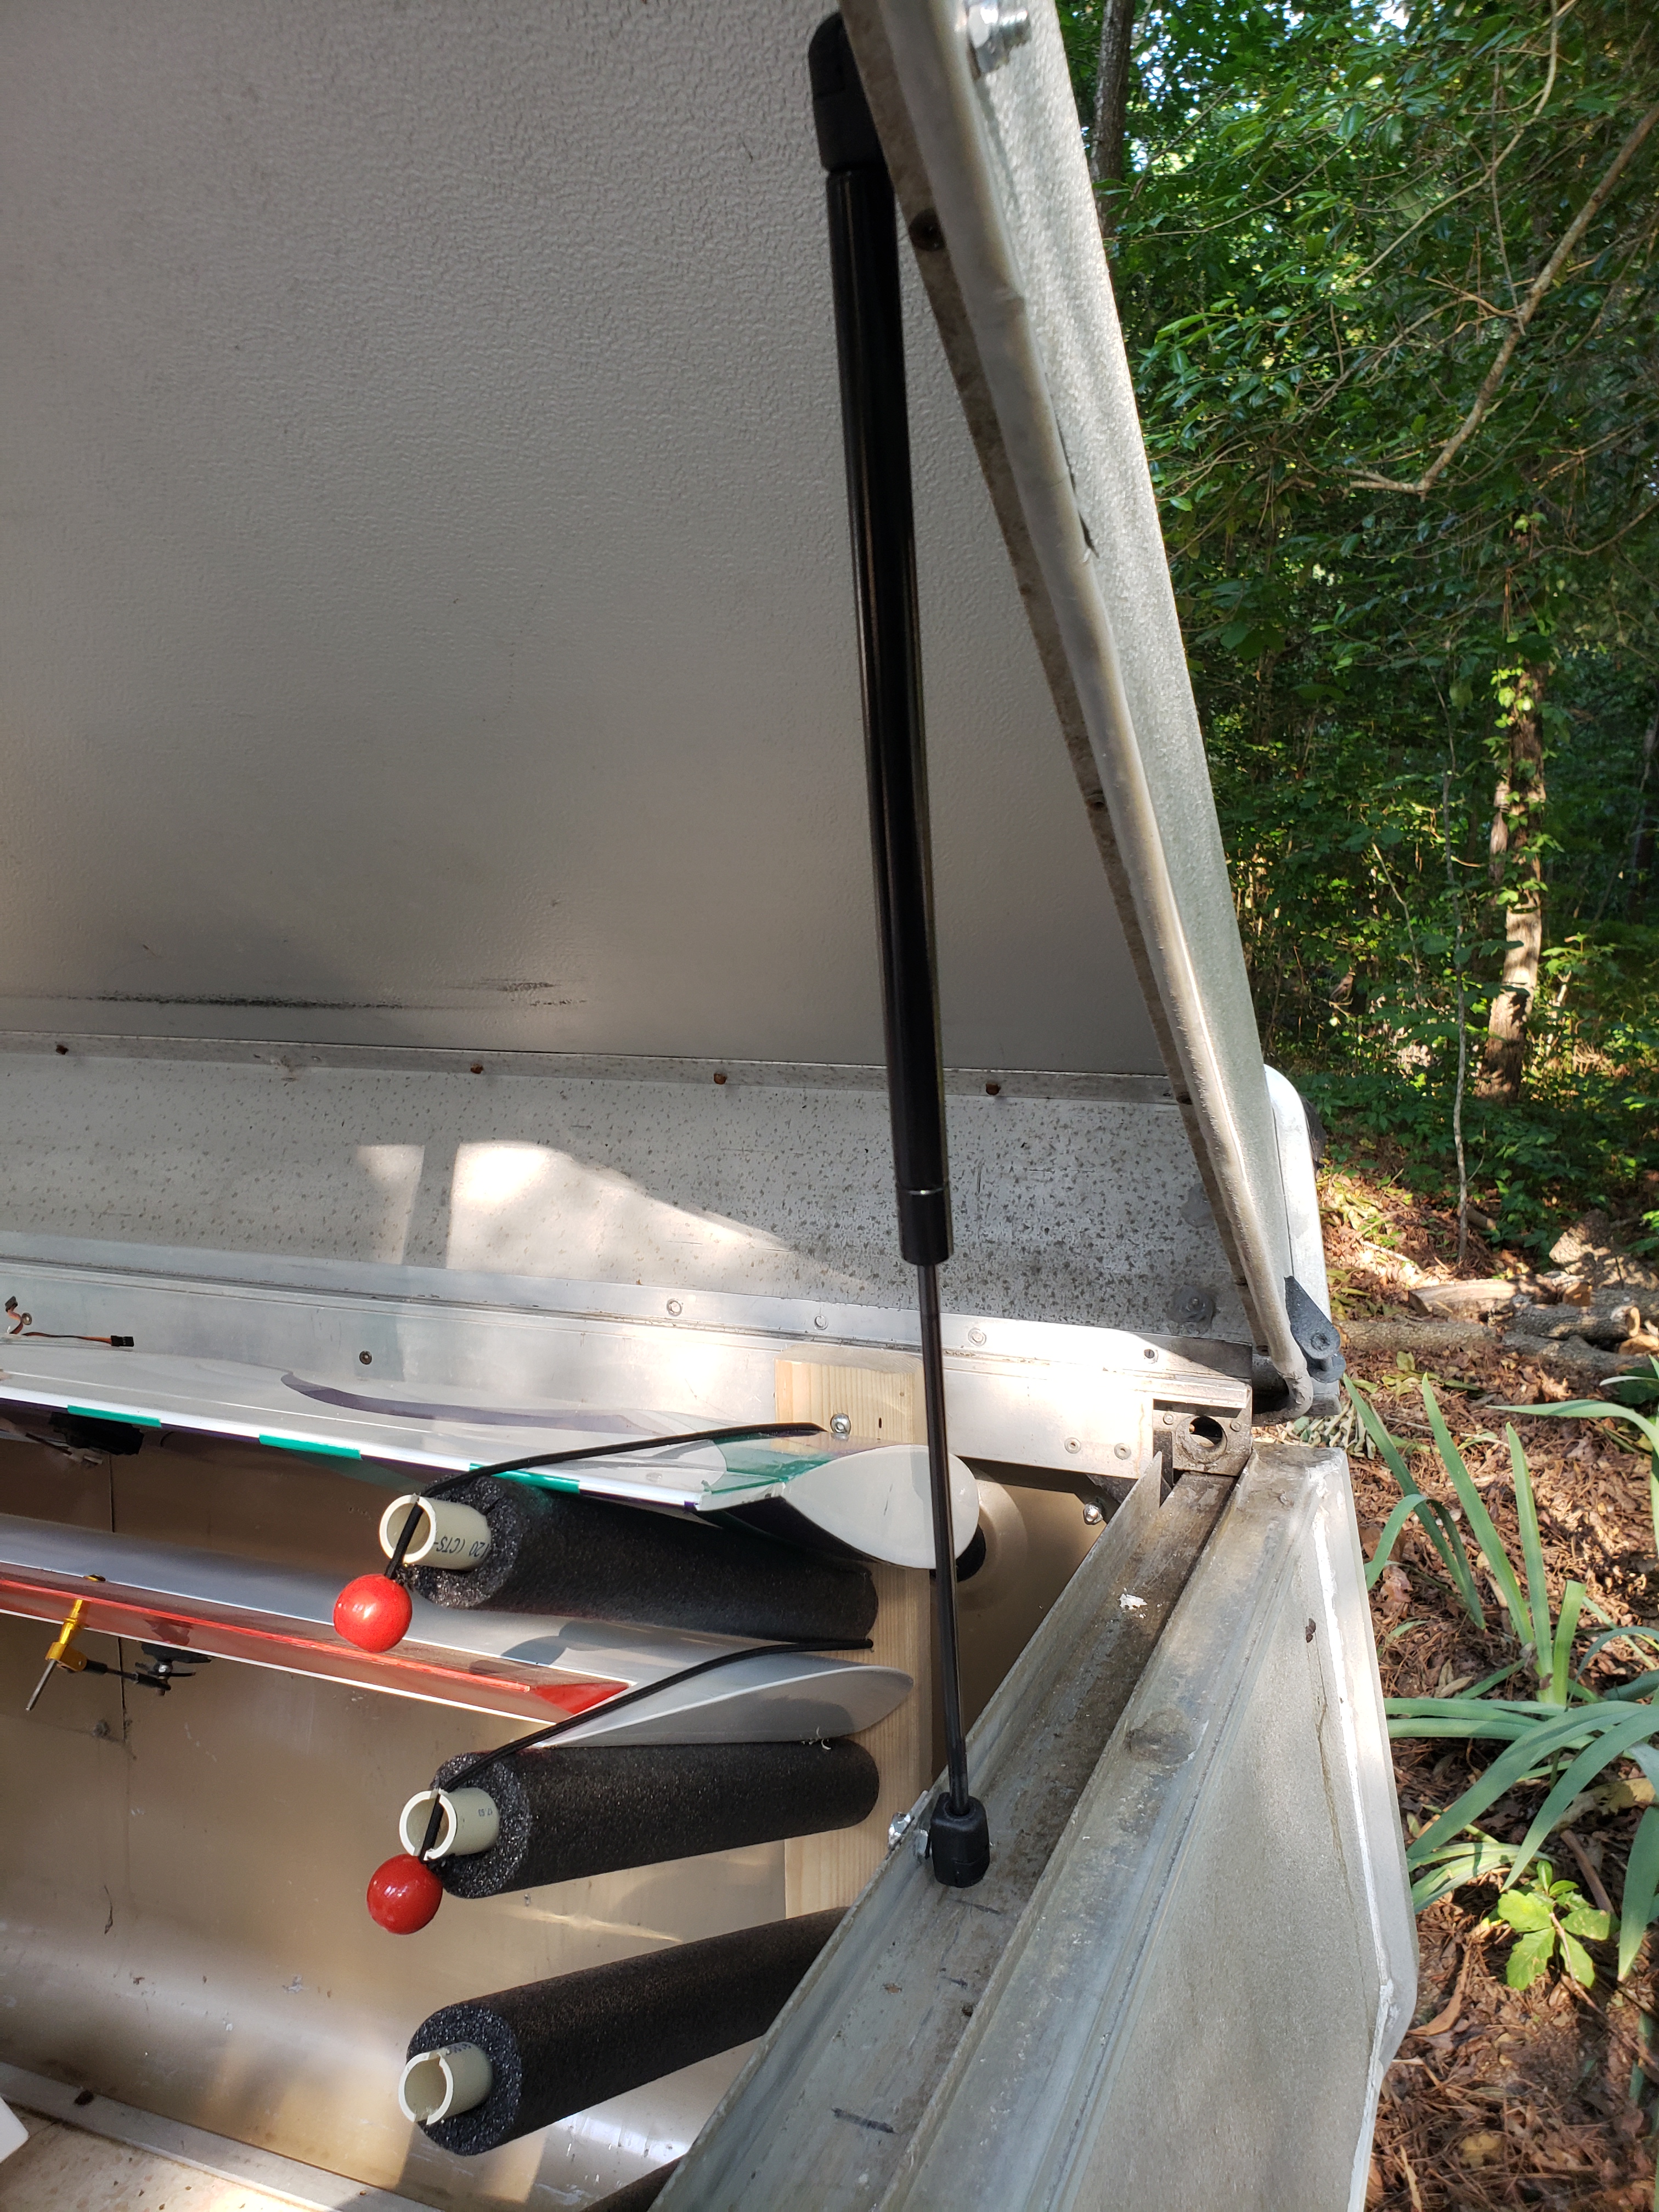
The new, lower pressure gas struts came in. They were a different length than the originals I was previously using, so more experimentation kicked in :-) . They're now mounted and working nicely. I wanted them to only assist with lifting, not do all the lifting. The hinge line and outer wall of the camper weren't designed for a bunch of side force, and I didn't want to redesign the whole body to handle the side forces of the much stronger struts. A pair of supports were fabricated from 3/4" aluminum angle stock, mounted between the lower strut ball to the floor, to help distribute the vertical load when the lid was up. You'll see that in a photo about 3 pictures down...
This is the new placement of things along the front wall of the trailer. I'm sure the location will change a bit over time as aircraft change, but this works pretty good and is a starting point at the moment. The frame along the front secures the flight box and radio boxes and provides support in the forward direction in the event of hard braking while in transport. It also maintains the small amount of clearance needed between the flight boxes and the front of the cabin for the lid support pole to travel during opening / closing of the lid.

This is the current layout at the rear of the trailer. The wheel chocks and supporting wall near the tent keep things in position and allow for the same lid support pole clearance needed in the front of the trailer. Notice the vertical support fabricated from aluminum angle stock, from the lower lift strut to the floor (near the nose of the red airplane in this pic).

You can see a temporary electrical cable passing along the far wall of the trailer, behind the wing rack supports. Power plugs into the rear of the trailer from an outside source, and is then distributed to the tent and front wooden wall structures.


I'm beginning to get chargers, surge protectors, and such placed about the trailer and secured with bungees for easy relocation. I'm sure things will move a bit, yet. Once this has been in use a while, and I'm satisfied with the location of everything, I'll remove everything from the interior and recover the floor with checkerboard tile. I didn't want to put the tile down first, then drill holes all over as I was working out the layout :-)


I'm still trying to figure out how to use this space... Maybe large bungee nets? I could build a drop down frame of some sort, but I want to keep the weight at a minimum, and maybe just use this as a space to store my park flyers in their boxes for transport.

http://www.RCDave.net